
To get the best out of your laptop, you need to clean it.
Most of us depend on our laptops. We use them for work. We use them to keep in touch with friends and family on social media. We use them to make purchases and find the best restaurants.
But how long has it been since you cleaned your laptop? Never? That’s probably true for many of us. Experts recommend that you clean your laptop every three to six months, depending on how much use it gets.
The steps in this article will tell you how to do it. It will take you about an hour to do it right. But you’ll be glad you did!
Have your cleaning supplies ready.
You’ll need to gather some supplies for this task:
- a can of compressed air and a “straw” that comes with it
- two or three clean, soft rags
- a lint-free screen cloth
- isopropyl alcohol (or electronic cleaning wipes)
- cotton swabs
- white vinegar
- distilled water
- a vacuum cleaner with a hose
- a small Phillips screwdriver
- plenty of space on a clean kitchen counter or workbench
Follow these 7 steps to clean your laptop.
Here are the seven steps that will show you how to clean your laptop safely. You need to do them in order. It will take you about an hour.
Step 1: Power down and unplug. Then clean the battery.
Turn off your laptop completely. Unplug the charging cord and any USB cords. Remove the battery. Remove the mouse, any discs or CDs, USB sticks, etc. Anything that’s sticking out or connected to your laptop should be removed.
Take a lint-free cloth and dip it in isopropyl alcohol and clean the metal contacts that connect your battery to your computer. This will keep the electricity flowing efficiently.
Step 2: Clean the keyboard.
Tilt the can of compressed air and spray the keyboard keys. Use short, gentle sprays. Try to herd the crumbs and dirt in one direction to get them out of the spaces between the keys. After you’ve sprayed and removed as much as you can, turn on the vacuum cleaner and use the hose to suck up the rest of the dirt particles from the keyboard.
Next, dab a clean, soft rag in isopropyl alcohol and gently rub the keys and touchpad to get off any stains or smears you see on them. Turn the cloth frequently to use a clean place as you work.
Step 3: Clean the outer casing.
Turn the lint-free cloth to a clean spot and dab it in the isopropyl alcohol again. Then clean the outer casing of the laptop. Rub gently to remove fingerprints, dirt, and grime. Turn the cloth frequently to make sure you are using a clean place as you rub.
You could use electronic cleaning wipes instead of the lint-free cloth and isopropyl alcohol if you prefer.
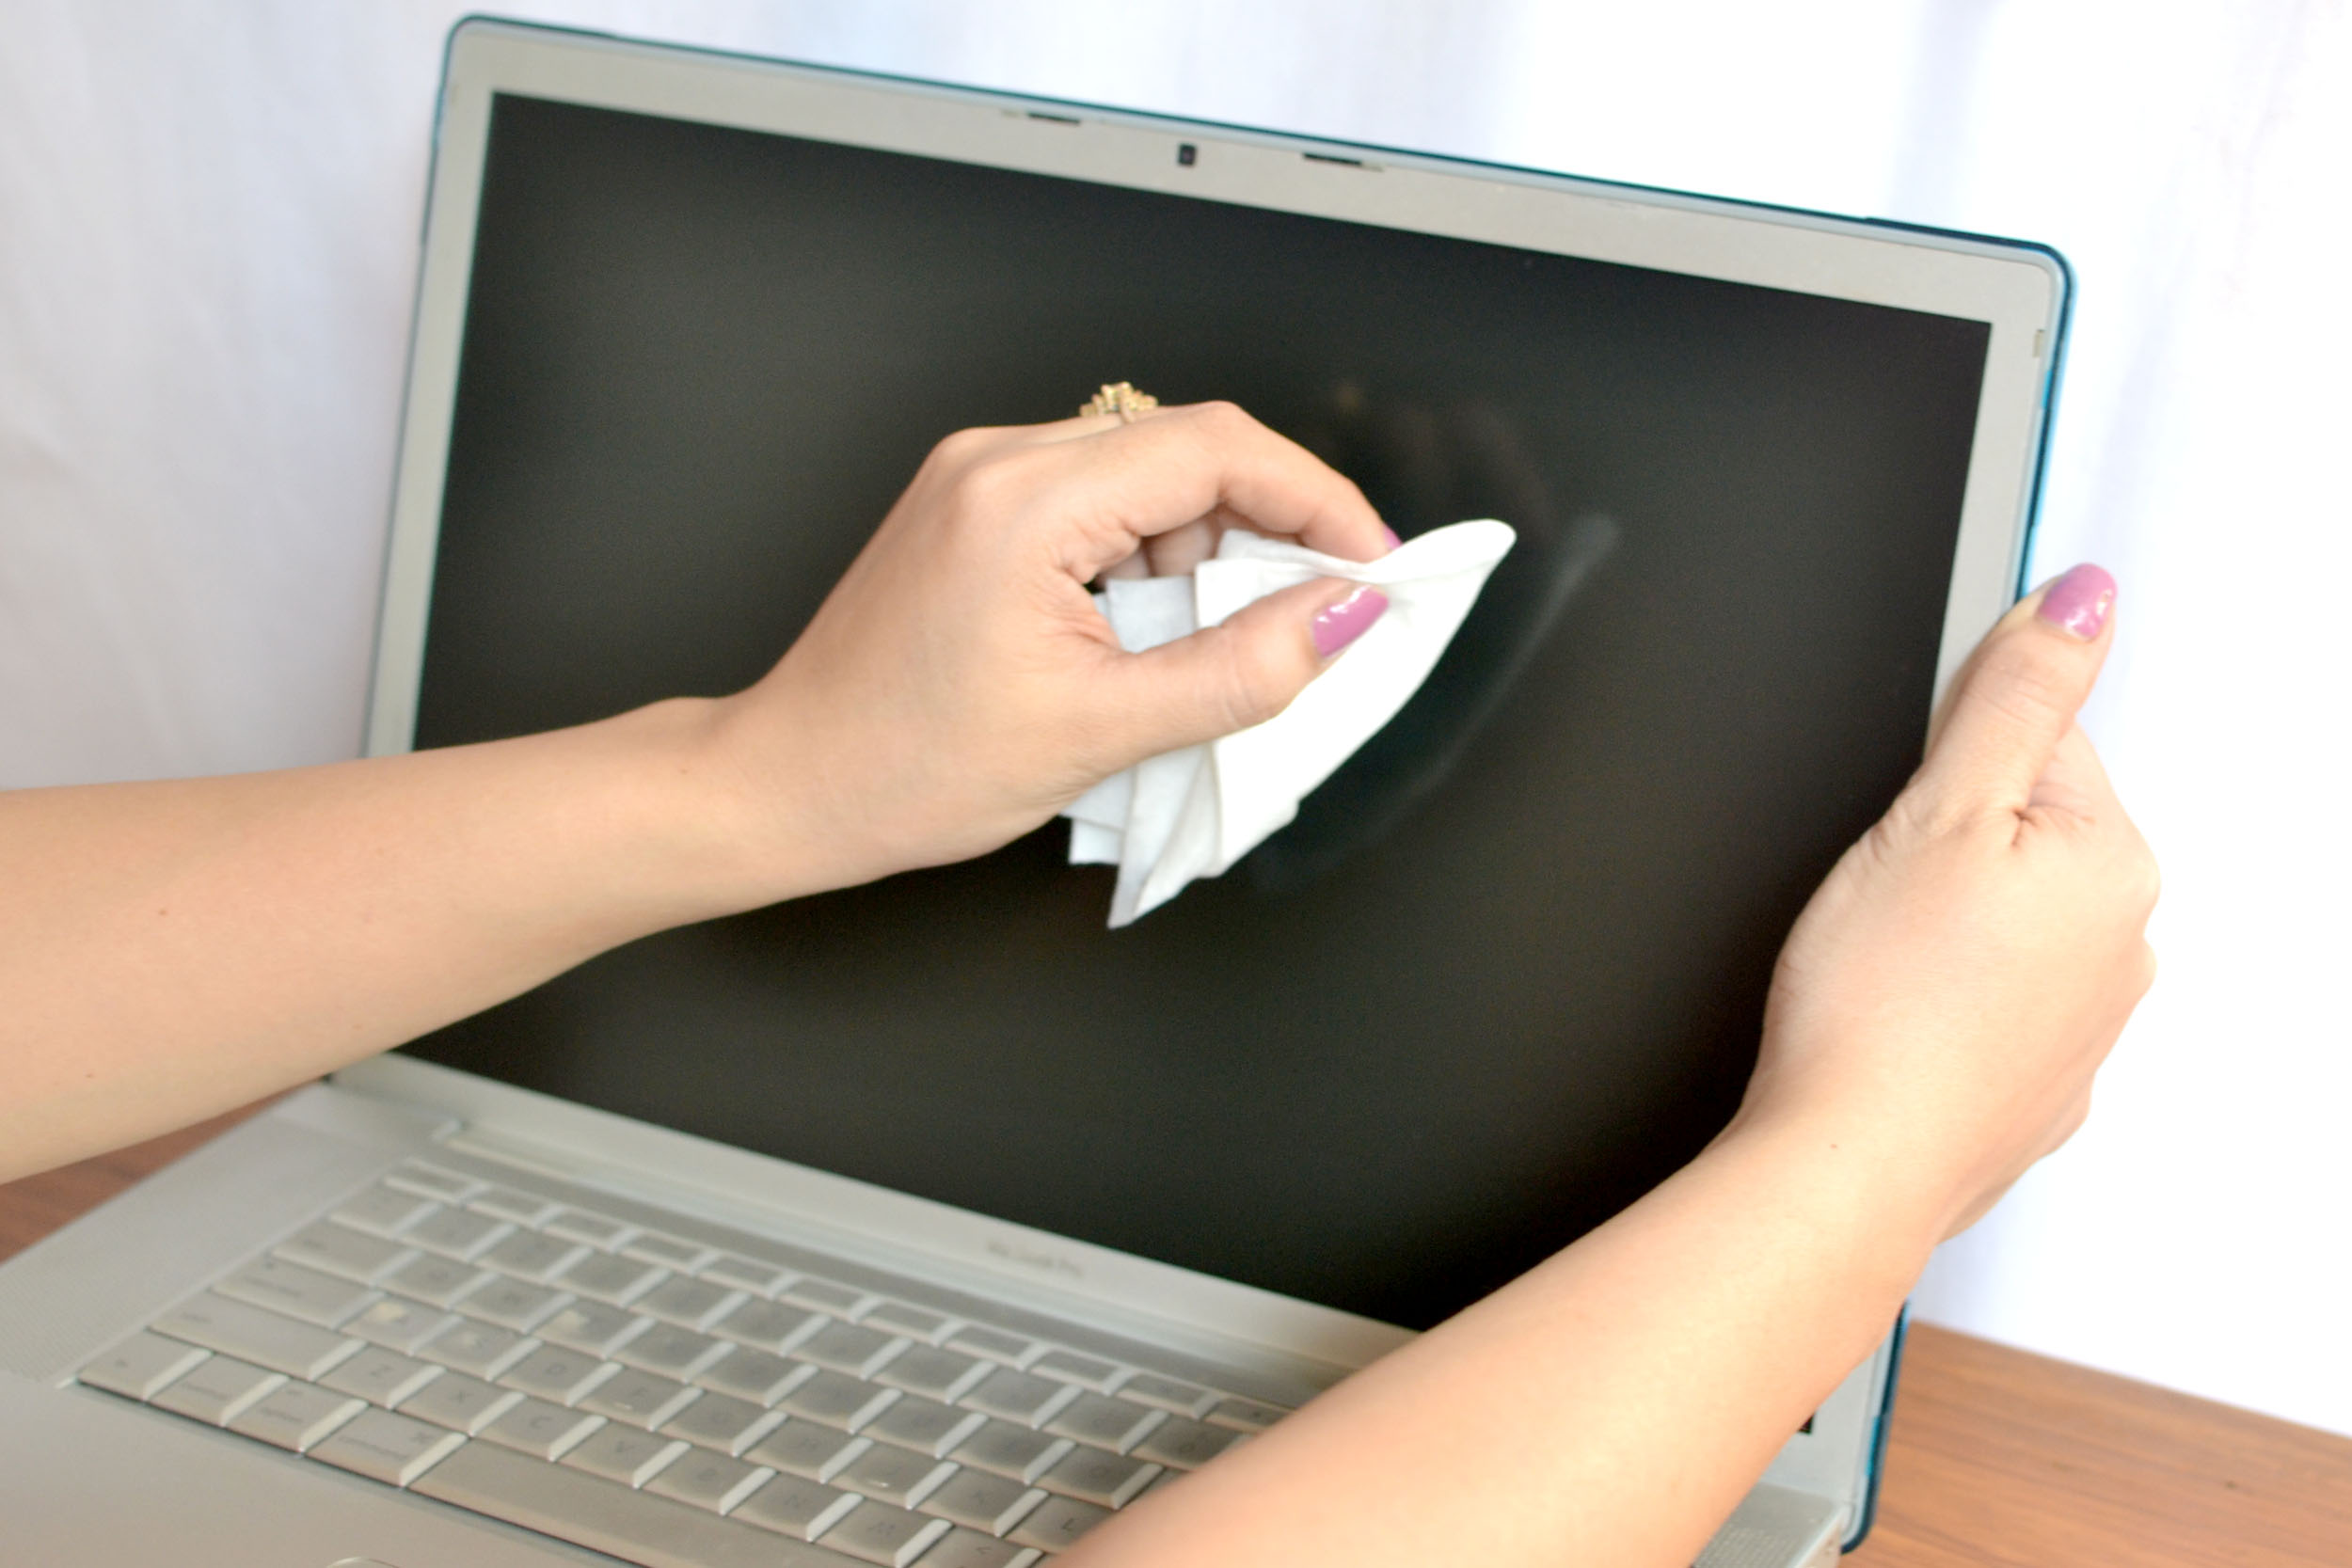
Step 4: Clean the screen.
In a small bowl, pour ½ cup white vinegar and ½ cup distilled water to make a cleaning solution for the LCD screen of your laptop.
Dip a lint-free cloth in the solution and gently wipe the screen. Turn the cloth and dip it again when it becomes dirty. Let the screen dry.
Step 5: Clean the fan.
It’s important to clean the fan regularly to prevent it from becoming plugged with dust. If your laptop is heating up and shutting down, then you may have too much dust inside it.
Turn your laptop over and look for an air vent on the outer edge. The air vent will be covered by an access panel. If you unscrew this panel, with a small Phillips screwdriver, you should see the fan. If not, you will need to search elsewhere for another panel. Or your fan may not be accessible.
If you can’t get to the fan yourself, you’ll have to take your laptop to a specialist who can access the fan for you. Target PC technicians can do this for a small cost.
If you can access the fan, use your can of compressed air to blow out the dust on the fan blades and in the fan cavity. You may want to take the laptop outside to do this. If you have never cleaned the fan before, there may be quite a bit of dust, and you don’t want to blow this into your living or work area. Be sure you also spray the intake and outtake louvers so that air can flow smoothly in and out.
Step 6: Clean the ports.
To clean the ports on your laptop, wipe the inside of each port with a dry cotton swab, and then spray each GENTLY with the can of compressed air.
Step 7: Put your laptop back together.
Let your laptop dry thoroughly after cleaning all the parts as we’ve described. Then put it back together. Now you have a clean machine that should serve you well until the next cleaning.
We recommend you clean your laptop every three to six months.
If you don’t want to do the cleaning yourself, bring your laptop to Target PC and a technician can do it for you!